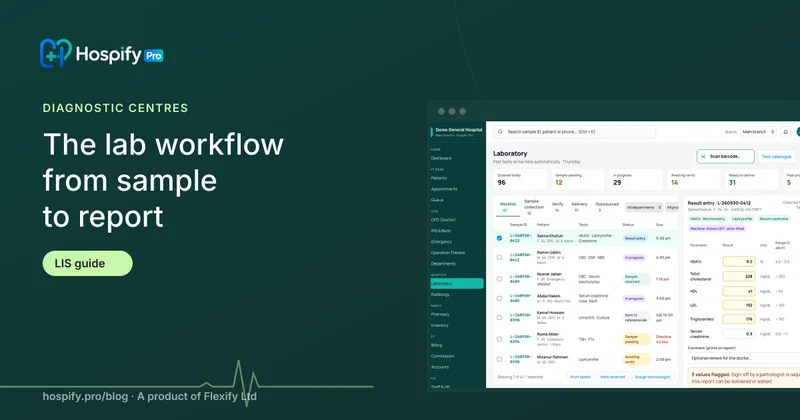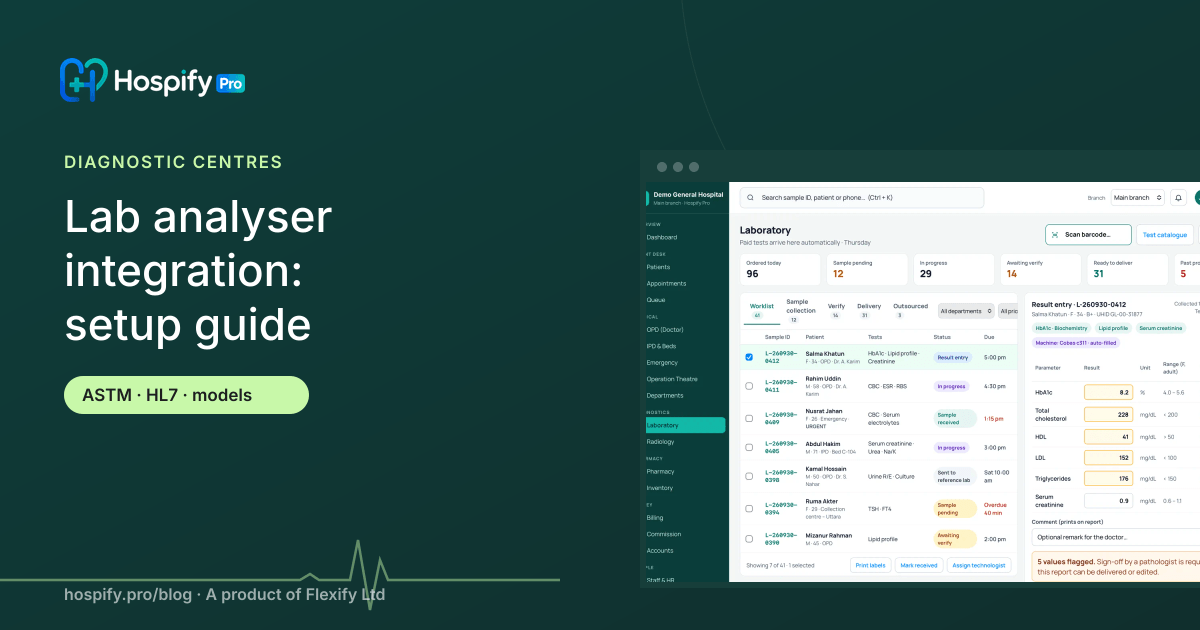
Lab analyser integration connects each machine to your laboratory software through its host interface, using the ASTM or HL7 standard over a serial cable or the network. The sample barcode links the tube to the patient; the analyser sends results tagged with that barcode, and the software files them into the report for the pathologist to verify. Result entry drops from two or three minutes per sample to a few seconds, and typing errors disappear. With Hospify Pro it is a premium add-on at Tk 2,000 a month$49 a month per analyser.
In this guide 14 sections
- What analyser integration means
- How it works, step by step
- The language machines speak: ASTM and HL7
- One-way vs two-way
- Why cloud software needs a local connector
- What you need
- Setting up an analyser: step by step
- Common analysers in Bangladeshi labs
- How much faster are reports?
- Common problems and how to avoid them
- What it costs with Hospify Pro
- Checklist before you start
- Next steps
- Frequently asked questions
Walk into the laboratory of a busy diagnostic centre at 7 pm and you will often see the same scene: the analysers have finished, the results are on their screens or printouts, and a technologist is typing them — value by value — into the reporting software.
A complete blood count has around 20 parameters. A lipid profile has five or six. Multiply that by a hundred or more samples a day, and manual result entry becomes one of the slowest — and riskiest — steps between sample and report.
Analyser integration removes it. This guide explains how it works, what you need, how to set it up step by step, which machines can be connected, and how much time it actually saves.
What analyser integration means
Analyser integration (also called interfacing or LIS connectivity) is a direct data link between a laboratory analyser and your laboratory information system (LIS) — the lab part of your hospital or diagnostic software.
Instead of a technologist reading a result and typing it, the analyser sends the result electronically, and the software files it into the right patient’s report, in the right field, with the right unit and flags.
How it works, step by step
- The test is billed. At the counter, the patient is billed for CBC and lipid profile. The software creates a sample ID and prints it as a barcode label.
- The tube is labelled at collection and received in the lab with a scan.
- The analyser reads the barcode when the tube is loaded.
- (Two-way only) The analyser asks for the order. It sends a query: “What should I run for sample 260930118?” The software replies: “CBC.” Nobody programs tests on the machine.
- The analyser runs the test and sends the results, tagged with the same sample ID.
- The software files the results: it matches the sample ID to the patient, maps each machine parameter to the report field, applies units and reference ranges, and flags out-of-range values.
- The pathologist verifies. Results wait as pending verification. Once verified, the report is locked and can be printed or sent to the patient’s WhatsApp.
The barcode is the key. It is the only reliable link between a tube inside a machine and a patient record — which is why integration and barcode labelling always go together.
The language machines speak: ASTM and HL7
Analysers use standard message formats so that any LIS can talk to them:
| Standard | Also called | Typical use | Typical connection |
|---|---|---|---|
| ASTM | CLSI LIS1 (transport) and LIS2 (messages); older names E1381 / E1394 | Most haematology, biochemistry, electrolyte and many immunoassay analysers | RS-232 serial cable, or TCP/IP |
| HL7 v2 | Health Level Seven, version 2.x | Newer analysers, middleware and larger lab systems | TCP/IP network |
Under the hood, an ASTM result message is a series of short records — a header, the patient, the order (with the sample ID) and one result record per parameter — sent with a simple handshake so nothing is lost. HL7 does the same job with different formatting (results usually arrive as an ORU message).
You don’t need to read these messages yourself. What matters is that your analyser supports a host or LIS interface, and your software has a driver for that model.
One-way vs two-way
| One-way (unidirectional) | Two-way (bidirectional) | |
|---|---|---|
| Results go to software | ✔ | ✔ |
| Tests downloaded to analyser | ✘ — selected on the machine | ✔ — by barcode query |
| Setup effort | Lower | Higher |
| Time saved | Large | Largest |
| Risk of wrong test run | Possible | Very low |
Most labs start with one-way for every machine and switch the busiest analysers to two-way once everything is stable.
Why cloud software needs a local connector
Analysers don’t send results over the internet — they talk to a computer beside them, through a serial cable or the local network. Cloud lab software therefore needs a small piece of software inside the lab, often called a lab connector or interface engine:
Analyser ⇄ (serial or network) ⇄ Lab connector PC ⇄ (secure internet) ⇄ Hospify Pro
The connector:
- Talks ASTM or HL7 with each analyser.
- Translates test codes — the machine’s WBC becomes your report’s Total WBC count.
- Queues results during internet outages and sends them when the connection returns, so the lab never stops.
- Logs every message, so a missing result can always be traced.
One connector PC can usually serve several analysers. In larger hospitals, the connector can run on the Hospify Local Server.
What you need
- Analysers with a host/LIS interface — check the operator or service manual for “host interface”, “LIS” or “ASTM/HL7”.
- The analyser’s host interface specification — from the distributor or service engineer.
- The interface switched on — some distributors enable it during a service visit, sometimes for a fee. Ask before you buy a new machine.
- Cables — an RS-232 serial cable (often a null-modem type) with a USB adapter, or a network cable to a switch.
- A Windows PC in the lab for the connector, on a UPS.
- Barcode labels printed by your LIS, in a symbology and size your analysers can read.
Setting up an analyser: step by step
1. Make an inventory
List every analyser: brand, model, software version, what it tests, daily volume, and whether it has a serial or network port. Start with the machine that produces the most results.
2. Confirm the interface settings
From the host interface manual, note the protocol (ASTM or HL7), connection type, and — for serial — the communication settings (commonly 9600 baud, 8 data bits, no parity, 1 stop bit, though models vary). For network connections, note the IP address and port, and which side acts as server.
3. Connect and test the link
Connect the cable, start the connector, and send a test result from the analyser. The connector log should show the message arriving and being acknowledged.
4. Map the test codes
Every analyser has its own codes for each parameter. Map each one to your LIS test and parameter, with units. For example:
| Analyser code | Hospify Pro parameter | Unit |
|---|---|---|
| WBC | Total WBC count | ×10³/µL |
| HGB | Haemoglobin | g/dL |
| PLT | Platelet count | ×10³/µL |
| CHOL | Total cholesterol | mg/dL |
Check unit conversions carefully — mmol/L versus mg/dL is the most common source of integration errors.
5. Run in parallel
For three to five working days, let results flow in automatically and keep manual entry for comparison. Compare every value. Investigate every mismatch.
6. Go live — with a fallback
Switch the analyser to automatic, keep manual entry available for breakdowns, and train technologists to check the connector status at the start of each shift.
7. Add the next machine
Repeat for each analyser. Move high-volume machines to two-way once one-way has been stable for a few weeks.
Common analysers in Bangladeshi labs
These are among the analyser families commonly found in diagnostic centres and hospital labs in Bangladesh, with the interface they usually provide. Exact capabilities depend on the model and software version, so always confirm with the host interface manual.
| Section | Common families | Usual interface |
|---|---|---|
| Haematology | Sysmex XP, XN-L and XN series; Mindray BC series; Erba H-series | ASTM (Sysmex), HL7 or ASTM (Mindray) — serial or network |
| Clinical chemistry | Roche cobas c series; Beckman Coulter AU series; Siemens Dimension and Atellica; Mindray BS series; Erba XL series | ASTM, many with two-way |
| Immunoassay / hormones | Roche cobas e series; Abbott Architect and Alinity; Siemens Atellica / ADVIA Centaur; Snibe Maglumi; Mindray CL series | ASTM or HL7, usually two-way |
| Electrolytes | Common ISE electrolyte analysers | Often serial ASTM or a simple text output |
| HbA1c | Common HPLC and immunoassay HbA1c analysers | ASTM or text output, model-dependent |
| Urine | Dirui, Sysmex UF and Mindray urine analysers | ASTM or HL7, model-dependent |
| Semi-automatic / ELISA readers | Many semi-auto chemistry analysers and plate readers | Often no interface — file export or manual entry |
Hospify Pro and your analysers: tell us the brand, model and software version of each machine before setup. We confirm support for each one in writing during onboarding, and new drivers can be added for models that are not yet on our list.
How much faster are reports?
Here is a realistic example for a diagnostic centre running 120 CBCs and 60 biochemistry panels a day.
| Manual entry | Integrated | |
|---|---|---|
| CBC (about 20 parameters), per sample | 2–3 minutes to type and check | A few seconds to review |
| Biochemistry panel (5–8 tests), per sample | About 1 minute | A few seconds |
| Total entry time per day | 5–7 hours | Under 30 minutes |
| Transcription errors | Occasional, hard to catch | Eliminated for interfaced tests |
For the result-entry step, that is roughly ten times faster — several hours of technologist time back every day. Reports reach the pathologist sooner, verified reports reach patients’ WhatsApp sooner, and the evening queue at the report counter disappears. Turnaround-time reports in Hospify Pro show the difference test by test.
Integration also improves quality: no transposed digits, no result typed into the wrong patient, and a complete electronic record of what the machine actually reported.
Common problems and how to avoid them
- Barcode not read — print labels at the right size and quality, and stick them straight along the tube.
- Results don’t arrive — check the cable, port settings and connector status; most issues are a loose cable or a changed IP address.
- Wrong units — confirm units for every mapped parameter before going live.
- Reruns and dilutions — decide whether the latest result or the first result is kept, and make sure the technologist can see both.
- Analyser flags — machine flags and comments (such as suspect platelet clumps) should come through to the technologist, not be silently dropped.
- Internet outages — choose a connector that queues results locally; Hospify Pro does.
What it costs with Hospify Pro
Analyser integration is a premium add-on for Hospify Pro at Tk 2,000 a month$49 a month per analyser, on top of the Diagnostic plan (Tk 6,500 a month$149 a month) or the Hospital plan. It includes the lab connector, driver and code mapping for each connected machine. Any fee the analyser distributor charges to enable the host interface is separate. See all add-ons.
Checklist before you start
- List every analyser with brand, model and software version
- Get the host interface manual for each
- Confirm the interface is enabled (ask your distributor)
- Barcode labels printing from your LIS and read by every analyser
- A lab PC on a UPS for the connector
- A week of parallel testing planned for each machine
Next steps
- See the full laboratory workflow
- See laboratory and diagnostics features
- See the live demo — the real software with sample data, no sign-up
- Book a demo and send us your analyser list — we will confirm what can be connected
Frequently asked questions
What is lab analyser integration?
It is a direct connection between a laboratory analyser and the laboratory information system (LIS). Results travel from the machine into the patient's report automatically, matched by the sample barcode, instead of being typed by hand.
Which analysers can be integrated?
Almost any fully automated analyser with a host or LIS interface, including most haematology, biochemistry, immunoassay, electrolyte and urine analysers from Sysmex, Mindray, Roche, Beckman Coulter, Siemens, Abbott, Erba, Snibe and Dirui. Semi-automatic analysers and many ELISA readers have no interface; their results are imported from an exported file or entered manually.
What is the difference between ASTM and HL7?
Both are standard message formats for sending lab orders and results. ASTM (now CLSI LIS1 and LIS2) is the most common on haematology and biochemistry analysers, often over a serial cable. HL7 version 2 is common on newer analysers and larger systems, usually over the network. Good integration software supports both.
What is the difference between one-way and two-way interfacing?
One-way (unidirectional) means the analyser only sends results; tests are still selected on the machine. Two-way (bidirectional) means the analyser reads the barcode, asks the software which tests to run, and then sends results back, so nobody programs tests on the machine.
Are results released to patients automatically?
No. In Hospify Pro, results from analysers arrive as pending verification. A pathologist or authorised technologist reviews, verifies and locks the report before it can be printed or sent on WhatsApp.
How long does it take to connect an analyser?
For a model with an existing driver, a few hours including test-code mapping. A model that needs a new driver can take one or two days, followed by a few days of parallel testing against manual entry before going live.

Hospify Pro is built by Flexify Ltd for hospitals, diagnostic centres, clinics, doctors and pharmacies in Bangladesh and beyond. Our guides come from the questions owners and managers ask us every week. About us